Happy New Year! I hope you all are enjoying Day 1 of 2016! How exciting!
I know many people pledge to eat healthier when the new year arrives and here’s a recipe that will help you do just that. It’s healthy and quite tasty, feeds a crowd and you can make it ahead of time. I’ve made it a few times now and everyone has loved it.
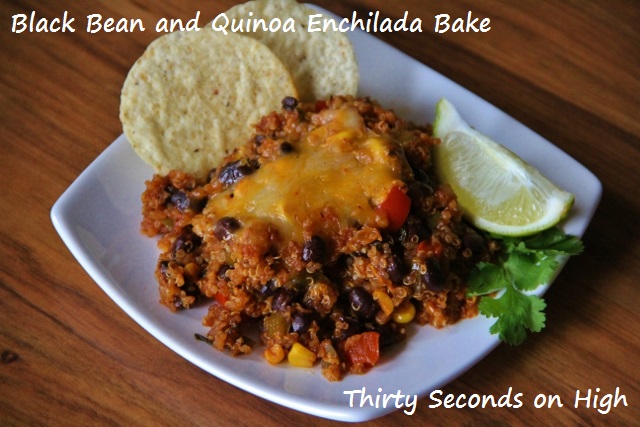
Black Bean and Quinoa Enchilada Bake
from Two Peas & Their Pod
Ingredients
1 cup uncooked quinoa, rinsed
2 cups water
1 tablespoon olive oil
1 small onion, diced
3 cloves garlic, minced
1 jalapeño, seeds and ribs removed,diced
1 red pepper, seeds removed, diced
1 orange pepper, seeds removed, diced
1 cup corn frozen kernels
Juice of 1 small lime
1 teaspoon ground cumin
1 tablespoon chili powder
1/3 cup chopped cilantro
Salt and pepper, to taste
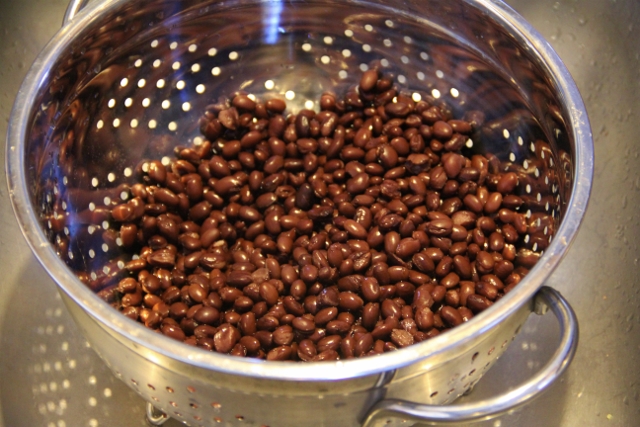
2 (15 oz) cans black beans, drained and rinsed
2 cups red enchilada sauce
2 cups shredded Mexican cheese
Toppings: Sliced green onions, avocado slices, sour cream, optional
What To Do
Preheat the oven to 350ºF. Grease a 9×13 baking dish with cooking spray and set aside.
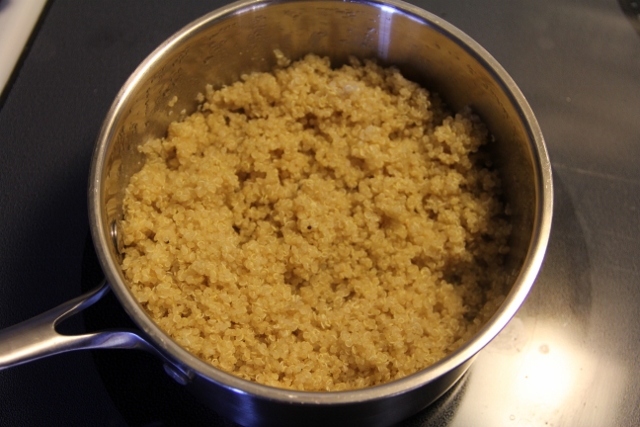
Add quinoa and water to a medium saucepan and bring to a boil over medium heat. Boil for 5 minutes. Turn the heat to low and simmer for about 15 minutes, or until water is absorbed. Remove from heat and fluff with a fork. Cover quinoa and set aside.
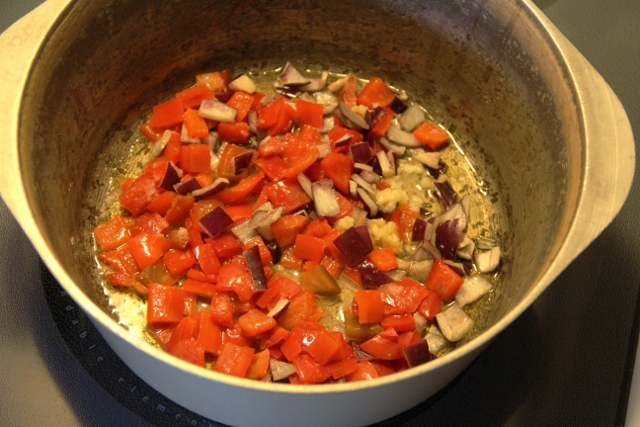
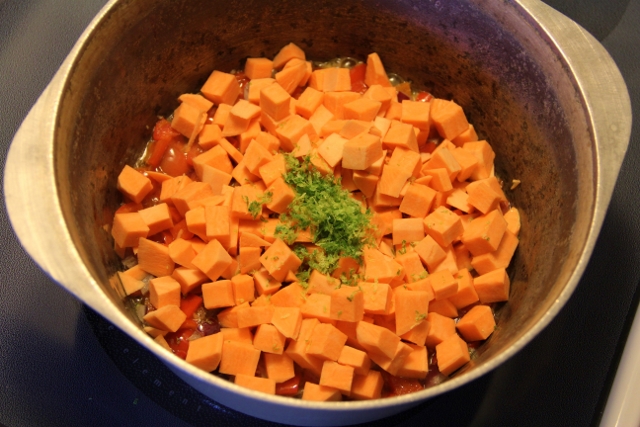
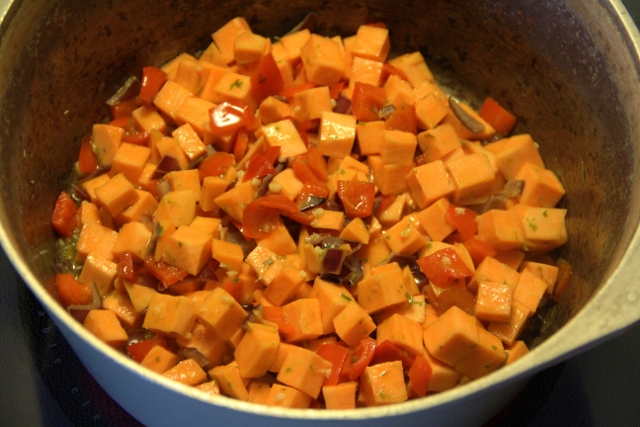
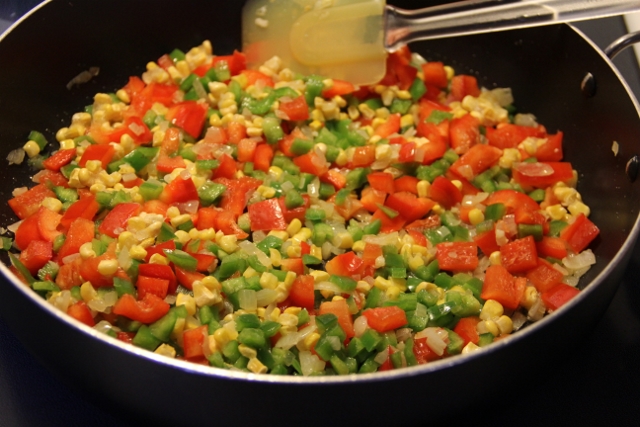
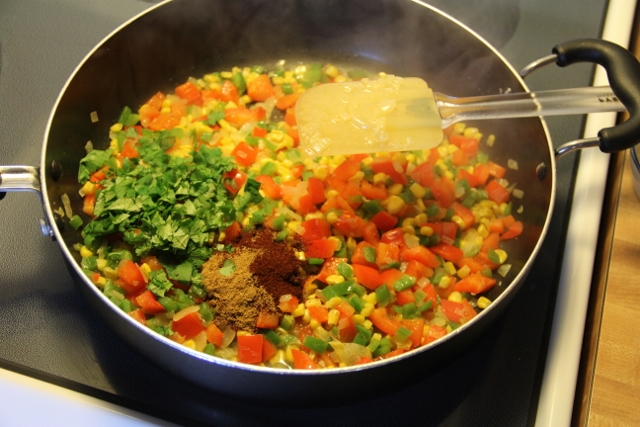
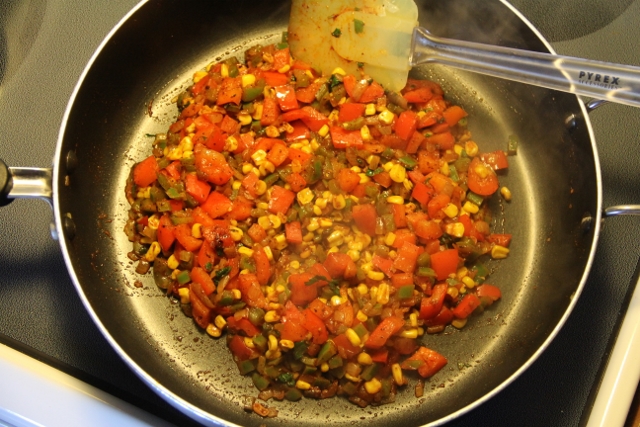
In a large skillet, heat the tablespoon of olive oil over medium-high heat. Add the onion, garlic, and jalapeño. Sauté until softened, about 5 minutes. Add in the peppers and corn. Cook for about 3-4 minutes. Add the lime juice, cumin, chili powder and cilantro. Stir to combine. Season with salt and pepper, to taste.
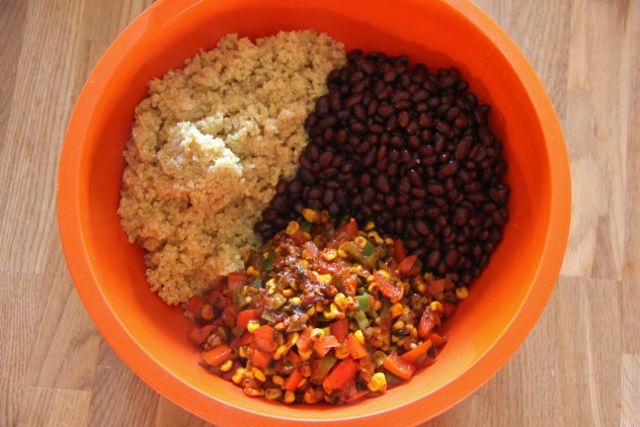
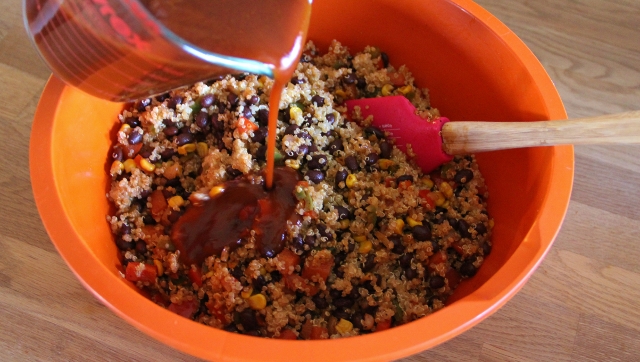
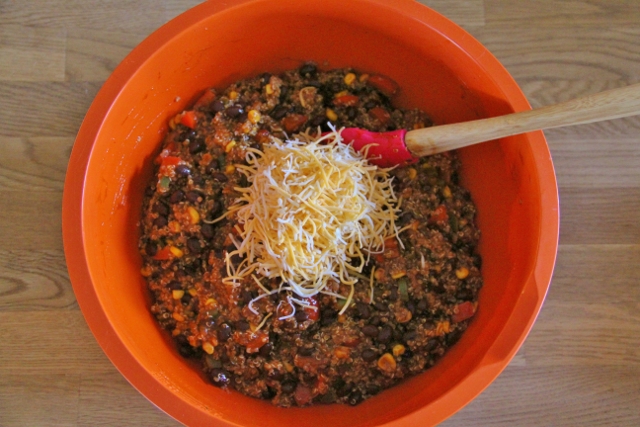
In a large bowl, add the cooked quinoa and black beans. Add the sautéed vegetable mixture and stir to combine. Pour in the enchilada sauce and stir. Add 1/2 cup shredded cheese.
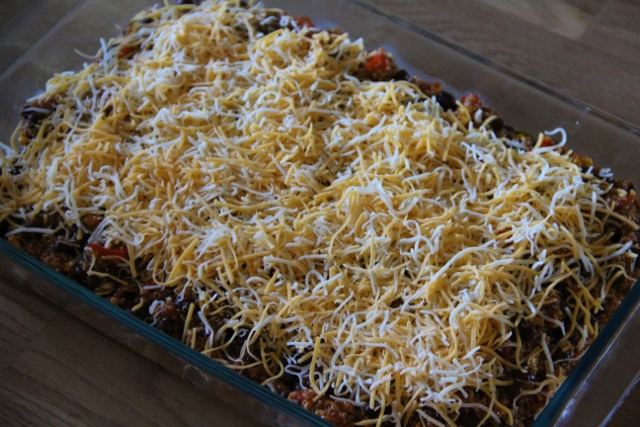
Pour the black bean and quinoa mixture into the prepared baking dish. Top with remaining shredded cheese. Cover the pan with foil. Bake for 20 minutes, then remove foil. Bake an additional 10 minutes, or until the cheese is melted and edges are bubbling. Remove from the oven, and let cool for 10 minutes. Garnish with toppings, if desired. Serve warm.
My Comments
I didn’t rinse my quinoa – it’s so tiny, I have no idea how to do it without it all going down the drain. To cook it, I followed the directions on the package.
I left the jalapeno out – I’m such a wimp when it comes to spice!
For the enchilada sauce, I used 2 10-oz cans, which is a little more than 2 cups, but it worked just fine.
I love making this ahead of time – just make it all the way up until you need to put in the oven and refrigerate until you want to bake it. You might need to add some baking time if you put it in the oven straight from the fridge, or you can set it out of the fridge to come to room temperature before baking.
Some Photos Along the Way
The quinoa, cooked
Onion, peppers, garlic and corn
Add the lime juice, cumin, chili powder and cilantro
This part is done
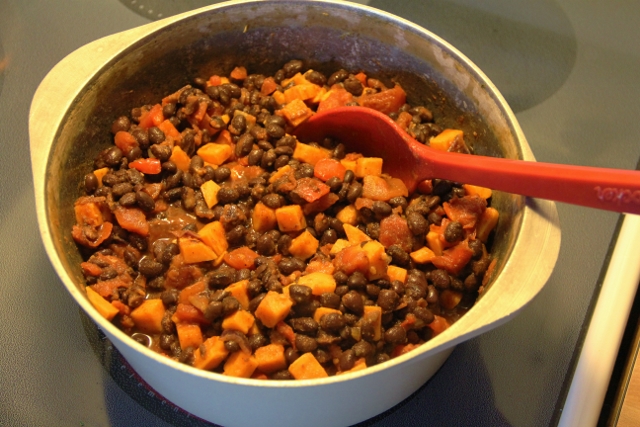
The quinoa, beans and vegetable mixture
Adding the enchilada sauce
Stir in half a cup of cheese
Ready for the oven
Fresh out of the oven
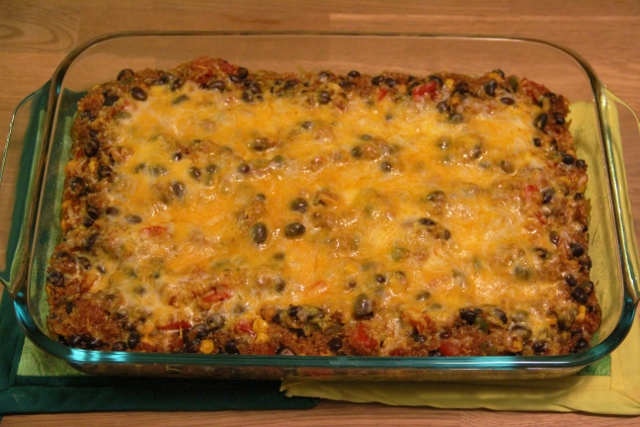
Healthy never tasted so good! Of course, you have to watch that your toppings don’t spoil your efforts…I served with tortilla chips, corn bread, sour cream and non-fat plain yogurt, avocado slices, cilantro and lime wedges. YUM!
Here’s to a healthy and happy 2016!