So I only planted 3 kale plants this year thinking that would be a good amount for 2 people and maybe share some…but wow, those 3 have really gone all out this summer and I have found myself looking for ways to use it all up.
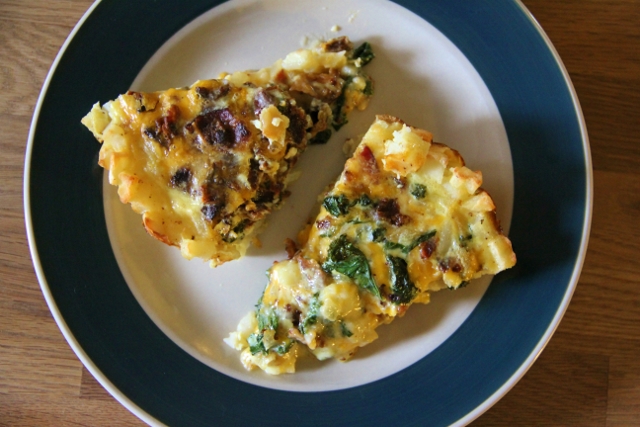
Enter this Kale & Bacon Quiche with Hash Brown Crust. I happened to have all the ingredients and it looked really good so thought I’d give it a try. And hooray! Success! We ate it as dinner and then had leftovers for breakfast. It was great both times.
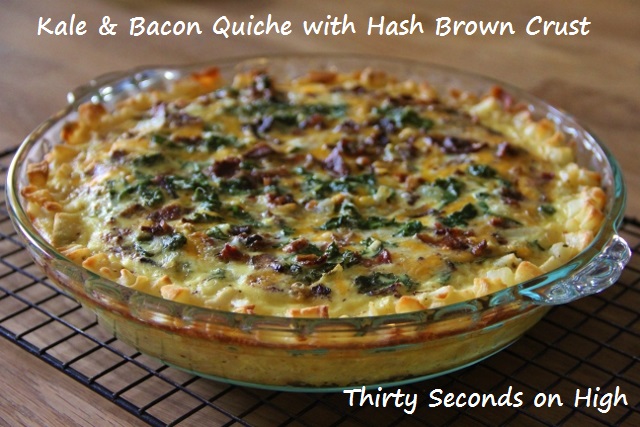
Kale & Bacon Quiche with Hash Brown Crust
from Iowa Girl Eats
Ingredients
3 c frozen hash browns, thawed
3 T butter, melted and slightly cooled
salt and pepper
1/4 lb bacon, chopped
1 T extra virgin olive oil
1/2 small onion, chopped
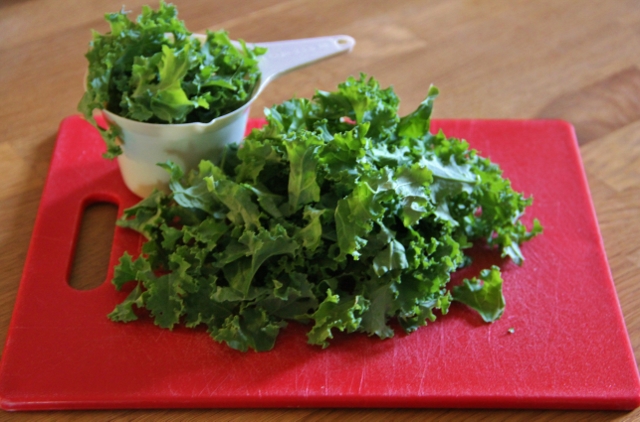
2 c chopped kale
2 garlic cloves, minced
4 eggs
1 c milk
1 c shredded gruyere cheese (see “My Comments” for what I used)
What To Do
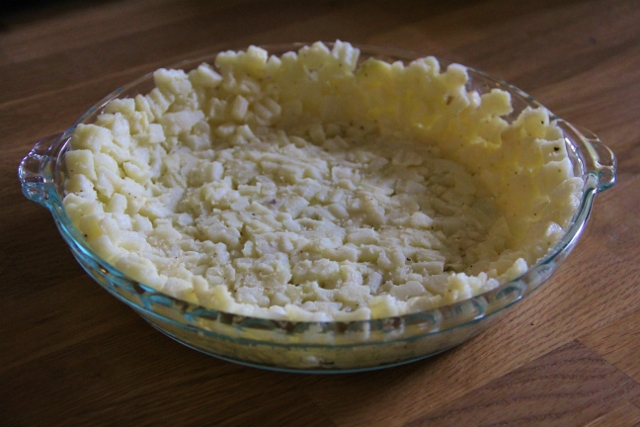
Preheat oven to 450ºF. Press hash browns between 3-4 paper towels to remove excess moisture. Add hash browns to a 9″ pie pan with melted butter, salt, and pepper, then mix and press evenly into the bottom and up the sides. Bake for 20-25 minutes or until hash browns are golden brown around the edges. Remove then set aside and turn oven down to 350ºF.
Meanwhile, cook bacon in a large skillet over medium heat until crisp. Remove to a paper towel-lined plate to drain then discard bacon grease.
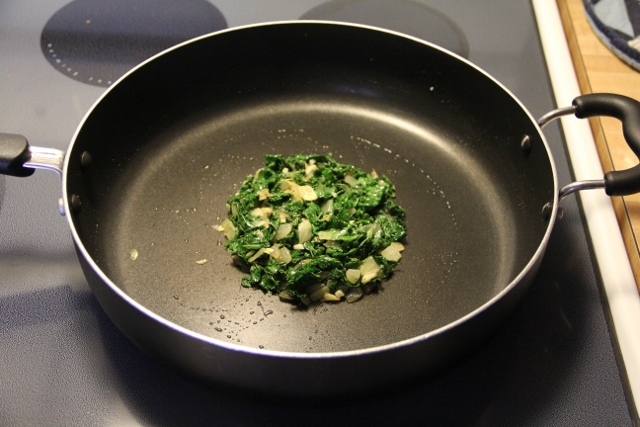
Add extra virgin olive oil to skillet then add onions and saute until translucent, 3-4 minutes. Add kale, season with salt and pepper, then saute until tender, 4-5 minutes. Add garlic and saute for 30 more seconds. Set mixture aside to cool slightly.
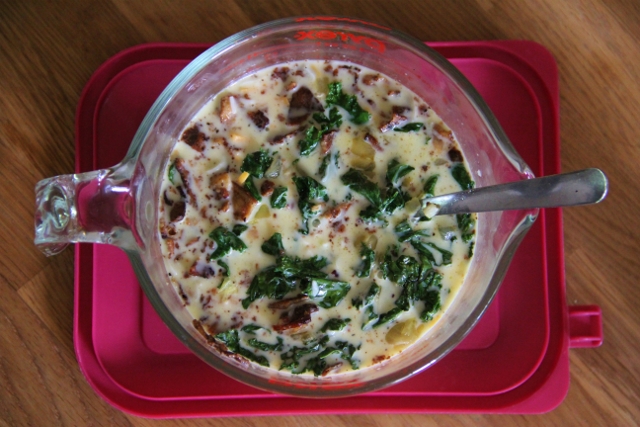
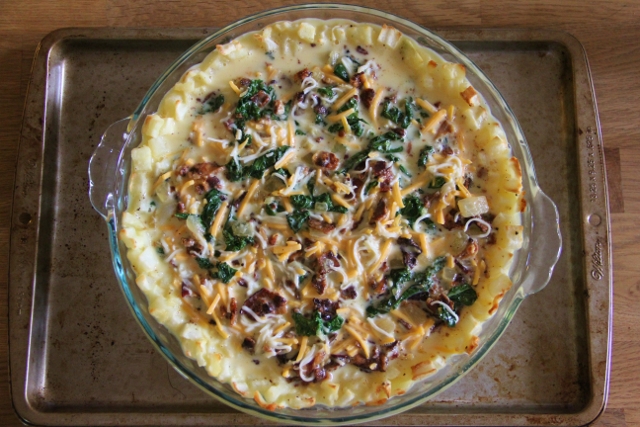
Whisk together eggs, milk, salt, and pepper in a large bowl. Add shredded cheese, cooked bacon, and mixture then stir to combine. Pour mixture over hash brown crust then bake for 30-35 minutes, or until top is light brown. Let sit for 10 minutes before slicing and serving.
My Comments
For the hash browns, I used southern style – the kind that looks like little cubes. Iowa Girl Eats used the stringy looking kind.
For the cheese, I used part cheddar and part mozzarella.
I did not press the thawed hash browns between paper towels but did dab them a little before mixing them with the melted butter.
I measured out 2 cups of PACKED chopped kale, meaning I stuffed as much into the measuring cup as I could. It cooks down a lot.
I happened to have some bacon that Matt had previously cooked but if I had to cook the bacon, I would just leave some of the grease and cook the onions/kale/garlic in it rather than put in olive oil. That’s just me, though.
Some Photos Along the Way
I bet it would be fun to make miniature versions of this too in a muffin tin. It’d be great for brunch or any little gathering. I love using hash browns as the crust and what a great idea if you have someone with gluten issues.
I hope your week is off to a great start! If life gives you kale this week, I hope you make quiche! 🙂