Cherry Tomato Galette

Happy Monday! It’s a much needed rainy day here in central IL and I’m happy to have some rainy day projects…one being to post this Cherry Tomato Galette recipe.  Things have been quiet here on Thirty Seconds on High for a while and I’m not sure when I’ll post again, but rest assured, I haven’t completely abandoned this blog, just needed a break.

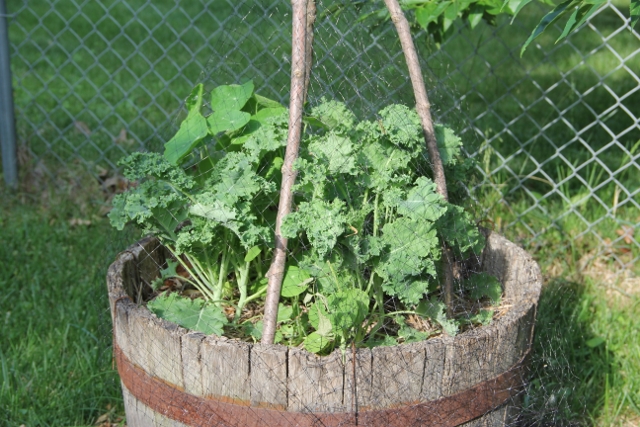
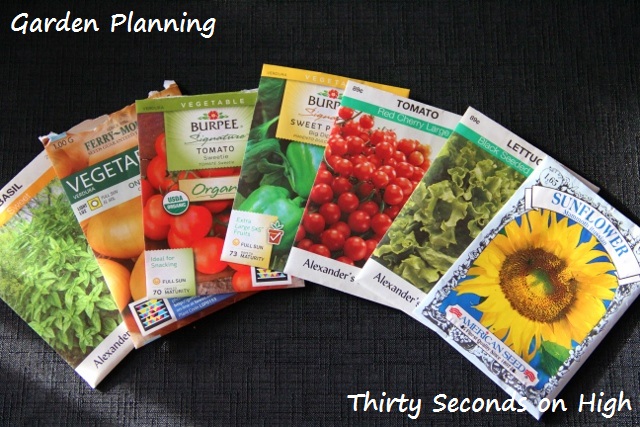
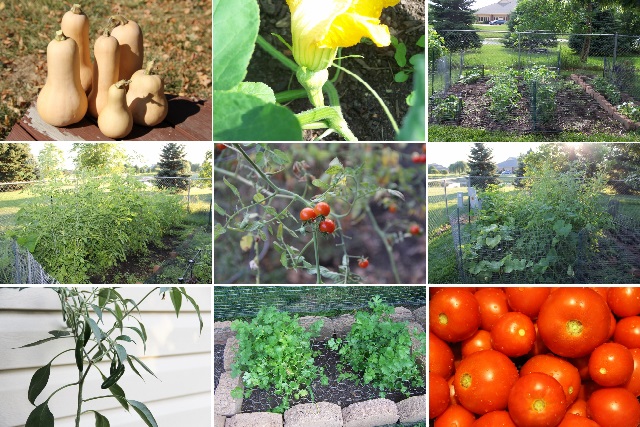
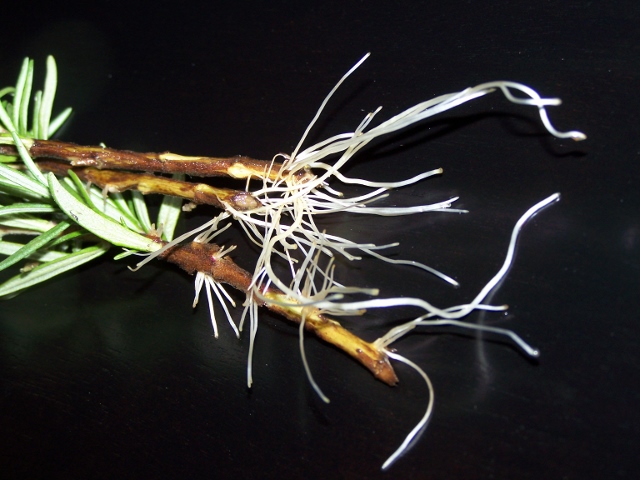
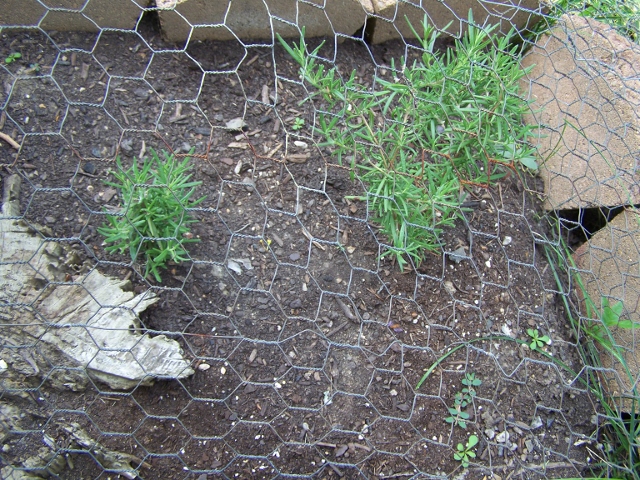
So I did plant a garden this year (remember previous Garden posts?) and I got to expand this year since we had an ailing tree removed last fall which meant more sun-filled yard space.

This:
Back Yard

Turned into this.  It’s roughly 10′ x 30′ and I love every inch.
New Garden Space

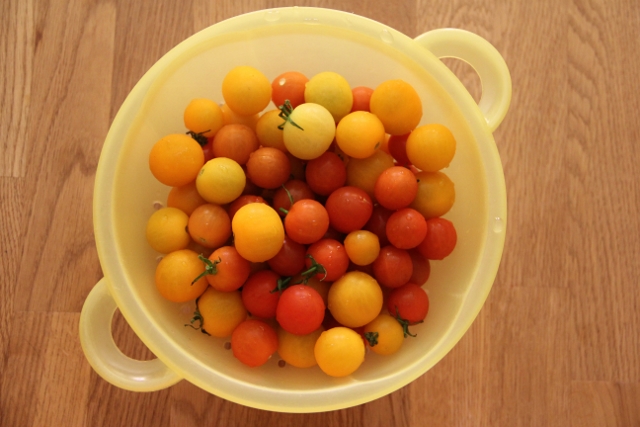
All this to say, I have a plethora of cherry tomatoes! I planted both red and yellow and they are as tasty as they are gorgeous!

Cherry Tomato Galette

A couple weeks ago I discovered Kitchen Vignettes on PBS Food.  It is a farm-to-table video blog and each one I have watched has been absolutely fascinating! I love it! I highly recommend taking some time to check it out.  One of the vignettes I watched was for this Cherry Tomato Galette.  Since I had cherry tomatoes I decided to try it out and I’m so glad I did because it was delicious!!! I’m definitely going to make another.  It wasn’t hard at all and it’s a great way to use up several cherry tomatoes.

Cherry Tomato Galette

Cherry Tomato Galette
slightly adapted from Kitchen Vignettes

Ingredients
Crust
Use your favorite single 9″ pie crust recipe (or buy one). I used KAF’s Guaranteed Pie Crust and used half (the other half is in the freezer for my next pie).

Filling
1/2 cup ricotta cheese
1/2 cup grated parmesan
About 1 pound of cherry tomatoes, halved
1 tbsp. olive oil
Freshly minced basil for garnish (4 or 5 basil leaves)
Salt and pepper, to taste

Glaze
1 egg yolk
1 tsp. water

What To Do
On a floured surface, using a floured rolling pin, roll the chilled dough into a large round about 12 to 14 inches wide and between 1/8 to 1/4 inch thick. Place the rolled-out dough on a piece of parchment paper on a large baking sheet. (You may find it easier to handle the dough if you roll it out directly onto the floured piece of parchment paper).

In a small bowl, mix the ricotta and grated parmesan together. Crumble and spread this mixture onto your dough, leaving a 2-inch border all around. Place your halved tomatoes, cut-side up, tightly together to fill the circle, leaving the 2-inch border intact. Fold the border edges of the dough inwards so that the tomatoes are encased by dough around the edges but exposed in the center. Brush the edges with the egg yolk glaze. Season with salt and pepper if you wish and drizzle the olive oil on top of the tomatoes.

Bake in a 375°F oven for about 45 minutes or until crust is golden.

Remove from the oven, let it cool for a few minutes before sprinkling shredded basil on top. Slice and serve.

My Comments
I prepped all ingredients before rolling out my pie crust.

I just happen to have a lifetime supply of 12″ round parchment papers so carefully rolled up my pie crust onto the rolling pin then unrolled it onto the parchment paper.  You can then use the parchment paper to help fold the edges inward to make the border crust.

This smells great while baking and it tastes so good! I highly recommend buying a wedge of Parmesan cheese and shredding it yourself, as opposed to buying pre-shredded.  The flavor is incredible!

Some Photos Along the Way
Grating parmesan cheese
Cherry Tomato Galette

Cherry tomatoes, cheese filling, pie dough
Cherry Tomato Galette

Pie dough rolled out
Cherry Tomato Galette

Crust with cheese filling
Cherry Tomato Galette

Add the cherry tomatoes
Cherry Tomato Galette

The edges folded up and glazed, sprinkled with salt & pepper, drizzled with olive oil
Cherry Tomato Galette

Fresh from the oven
Cherry Tomato Galette

Basil from the garden
Cherry Tomato Galette

Want a slice?
Cherry Tomato Galette

Or two?
Cherry Tomato Galette


I know this is a lengthy post but it’s been a while and I really wanted you to see this recipe.  “Galette” sounds fancy and maybe even hard but it’s really just a “rustic” pie and therefore doesn’t have to be perfect.  It’s really really really good and I hope you try it out especially while there are fresh cherry tomatoes.  Someone recently told me that “fresh is best” and I completely agree!

Enjoy!

Kale Pesto

I know I didn’t share much about my garden this year but I did put one in and it’s doing well so far.  In fact, I have a barrel full of kale!

Kale Pesto

Kale is one of the first things I transferred from indoors to outdoors and it took off.  This is the first year I’ve planted it in a barrel.  I threw in a couple nasturtiums too but they haven’t flowered yet.  I like it in the barrel as it leaves more space in my garden for other stuff.  And yes, I still had to cover it to protect it from those pesky squirrels!

Anyway, with a bunch of kale to harvest, I made this Kale Pesto.  It uses a good amount of kale, which was exactly what I wanted.  I was a bit skeptical but it turned out great and has so many uses!  I’ve heard you can freeze it too but I’ve not tried that yet.

Kale Pesto

Kale Pesto
from Weelicious

Ingredients
2 cups packed kale leaves
1/2 cup toasted walnuts
2 tablespoons grated parmesan cheese
1 garlic clove, roughly chopped
2 tablespoons lemon juice
1/2 teaspoon kosher salt
1/4 cup
olive oil

What To Do
Place all of the ingredients in a food processor and puree until smooth.

Serve over rice, pasta or as a sandwich spread.

Note: If you don’t have toasted walnuts, you can easily make them. Just spread roughly chopped walnuts on a baking sheet and pop in a 400°F oven for five minutes.

My Comments
I toasted my walnuts in the toaster oven and also put the 1 clove of garlic in as well.

I did trim the kale – the stems and also the stem part that’s in the leafy part – what is that called? A rib? I’m not sure…

You can adjust this recipe to your taste.  I might add more garlic and a touch less lemon juice next time.

Some Photos Along the Way
Kale Pesto

Kale Pesto

Kale Pesto

Kale Pesto

Kale Pesto


YUM! This Kale Pesto is quite tasty.  You can use it as pasta sauce, pizza sauce, sandwich spread, dip, I’ve read it’s good on chicken and even fish.  I’m looking forward to trying it in different ways.  I’ve also read that you can substitute sunflower seeds, pumpkin seeds, pine nuts and almonds for the walnuts.  This is a fun recipe to experiment with.

Oh and I’m sure you know this, but kale is super good for you!!!

Hooray for a simple, quick, healthy recipe that can be used in multiple ways! Have a wonderful weekend!

Garden Planning 2014

Hello! I hope you are well.  I’ve been under the weather the past couple days and it makes me appreciate being healthy!

Speaking of weather…my garden is still completely covered with snow, but it is time to start some planning and preparation for garden season!! Woo Hoo! That makes my sore throat sing.  I don’t have much to add to last year’s post about garden planning, but is it time to get those seeds started if you are going the seed route, which I hope you are.

Garden Planning

If you’ve never grown anything by seed before, I encourage you to at least get one packet of seeds to try out.  They’re cheap and it’s so fun and rewarding to grow something from seed.

I like to try something new each year but haven’t yet decided what that’s going to be for this year.  There are so many choices! I normally only like to grow food, but I think I will plant some flowers this year.  I have a longing for cutting pretty little flowers and putting them in jars around the house.

To help you choose, think about what you like to eat and think about what you missed eating throughout winter.  Perhaps you can grow enough over the summer to put some up to enjoy during winter.  What worked well last year? Or what didn’t work well last year? My sweet bell peppers didn’t do a darn thing last year…I may just get those at the farmer’s market this year and use that space for something else.

The most important thing to remember is to have fun! Gardening does take some work, but it’s mostly just pure fun and learning and growing.  It’s a great way to spend time with family and friends.  It’s a great way to get some exercise out in the fresh air.

So while it’s still snowy/cold out, go ahead and start planning your garden and then when it warms up you can go enjoy the great outdoors.

Goodbye, Garden

Sniff, sniff…the saddest time of year is when it’s time to undo the garden.  The threat of frost is just a night or two away and to be honest, my plants need to be put out of their misery.  Poor, poor plants.  It’s time.

As I look back, I realize didn’t post very many garden pictures, so here’s a little collage:


garden collage 2013


For a while, the garden was comically jungle-like and out of control.  Then squash bugs decided to make themselves at home and I’ve decided they are not very nice neighbors.  Thankfully I got to pick several butternut squash before the plants completely withered away.  I only saw one tomato worm and there was no problem with bottom/blossom end rot this year.  I was able to share lots of cherry tomatoes and put up lots of roma and normal tomatoes for winter use in soups like Roasted Tomato Basil.  Matt got a serrano pepper plant for free and it produced quite a bit – my bell peppers did nothing! My herbs did really well despite the squirrels wreaking havoc among them.


All in all, I think it was a good garden year.


So, to prepare for winter, it really is best to pull everything up.  If you have any green tomatoes, you can pick them and they will eventually ripen.  I always set mine in a tray by a sunny window.  I’ve never tried it, but you could also make fried green tomatoes.  I’m going to leave the rosemary and thyme in the ground.  I’ve always had them both in pots and would put them in the garage for the winter but this year I decided to put them in the ground so we’ll see if they survive.  My oregano is in a pot so I’m going to trim it and put it in the garage for the winter, as usual.  If you have any basil left in the ground, you can put it in a pot and bring it in and it should last quite a while.  Last year mine lasted almost all winter long in my living room, but not not quite.  For anything you’re bringing into your house, you should clean off the plants as well as you can so you don’t bring any unwanted guests into your home.

If you’ve been composting throughout the summer, I believe that now is a good time to mix it all in to your garden plot.

If you haven’t already done so, you might want to draw a little picture of what plants were where in your garden.  I like to do this because I don’t like to plant the same plants in the same place every year.  It may not be a huge deal, but just one of those things I do.


Did you garden this year? How did it go for you? What did you learn? What are you looking forward to next year? I hope you enjoyed your experience.


Here’s to winding down one season and moving on to the next.  Happy Fall, y’all!

IMG_7753 (640x427)

How to Root Rosemary from Cuttings

Do you or someone you know have rosemary growing out of control in the garden? Do you or someone you know want rosemary growing out of control in the garden?

Well, I have good news for you, my friend.  Whether you’re on the giving or receiving end, there is a solution!


Step 1: Cut some rosemary sprigs.


Step 1


Step 2: Snip off the leaves from one end of the sprigs, a few inches worth.


Step 2


Step 3: Place sprigs in water by a sunny window.  Refresh water as needed.


Step 3


Step 4: Wait a few weeks and voila – new roots will grow!


Step 4


Step 5: Plant in a pot or in the ground and water it in.  Watch it grow! (I put some protection up over mine to protect from those pesky squirrels).


Step 5


Rosemary is a great herb to use in cooking or just for smelling.  Some freshly rooted rosemary in a cute little pot with a ribbon would make a great gift too!

Enjoy your weekend! Summer is here!!!!