Oh, I’m so excited!!! Making gourd candles is one of my favorite crafts of all time. And now that it is Fall, I get to make them again! These gourd candles are super fun to create. They make adorable decorations for your dinner table or anywhere in your house. Thanksgiving is coming up soon and these would look so cute on your table!

You Will Need
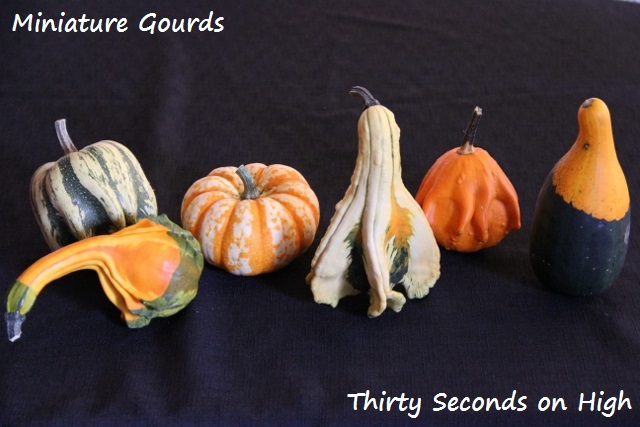
Miniature gourds
A knife, hacksaw and/or cleaver
A spoon (a grapefruit spoon is helpful)
granulated wax/wax beads (found at the craft store)
pre-waxed wicks (also at the craft store)
tea lights
matches/lighter
What To Do
Buy a variety of mini gourds from the farmer’s market or the store. Or ask around – last year I got some for free when a lady in the neighborhood didn’t want hers anymore! Here’s what I got this year from a nearby farm:
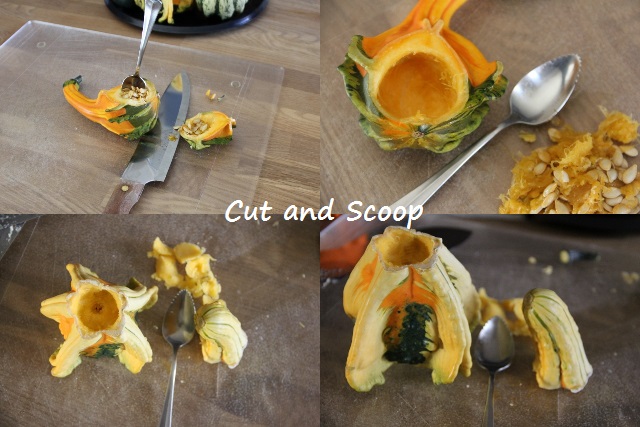
Carefully cut the top off each gourd with a knife/hacksaw/cleaver and scoop out all the seeds/pulp with a spoon. If your gourd has trouble standing up, you might want to trim the bottom off to make it level so it won’t fall over. Or, if you have one with a long neck, just make the hole on its side and leave it sitting sideways.
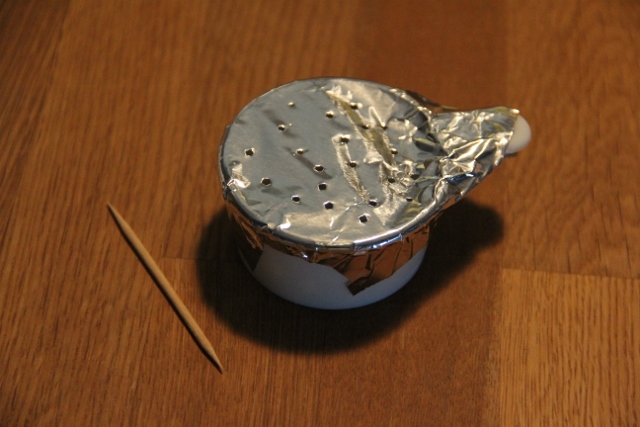
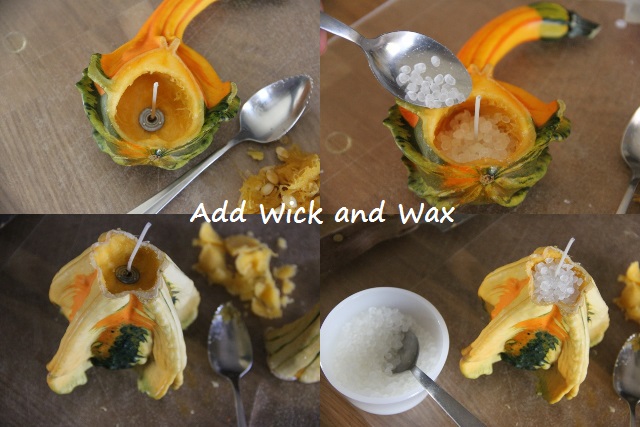
Place a wick into the center of the hole, trim if necessary and fill with granulated wax/beaded wax. Use a tea light if the hole is shallow and small.
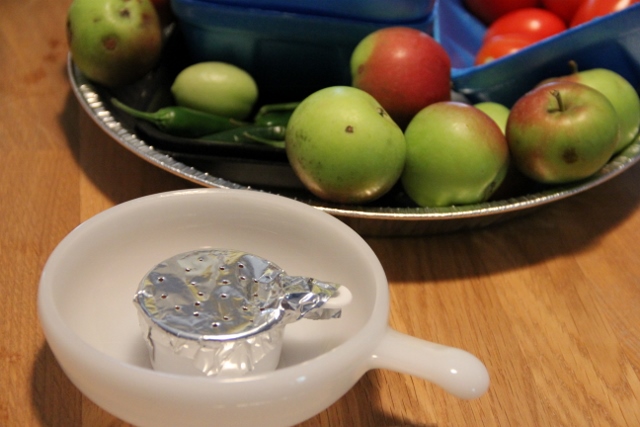
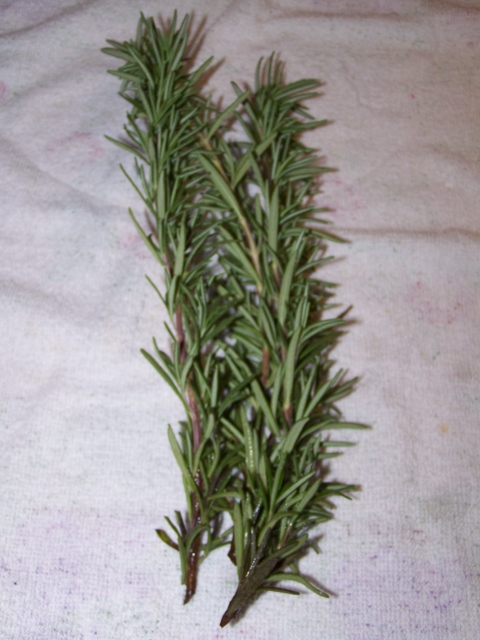
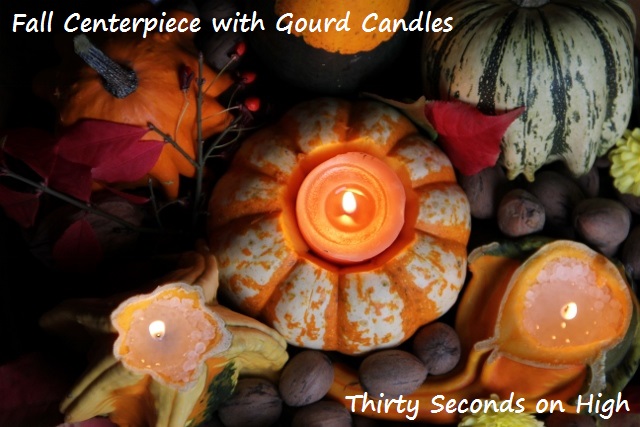
Arrange your candles on a tray or large plate and add decorations to create a beautiful fall centerpiece. You could add fall leaves, flowers, pinecones…whatever your heart desires. Maybe even some herbs like rosemary or thyme or sage or just leave it plain – the candles alone are so festive and fun! Light them and enjoy!
Remember – Safety First!!! Be careful when cutting the gourds – some are harder to cut than others. And of course, don’t play with matches and don’t forget to blow the candles out when you’re not enjoying them. 🙂