So I ended up buying four pie pumpkins this year! Come on, they were 50 cents each! I’m surprised I didn’t get more, but maybe I held back because I had other squash filling my wagon too. Oh how I love going to the pumpkin patch and getting all kinds of fall favorites!
Since my trip to the patch, I’ve been thinking about how I’m going to use all that yummy squash. The other night, I had the opportunity to look through some old magazines and found this Tortellini with Pumpkin Alfredo Sauce recipe. I was immediately intrigued and went out to get the ingredients I didn’t have.
This tortellini dish has a really nice flavor – the pumpkin is mild, but if you use canned pumpkin, it might be stronger. Both Matt and I really enjoyed it and I think the leftovers the next day were even better!
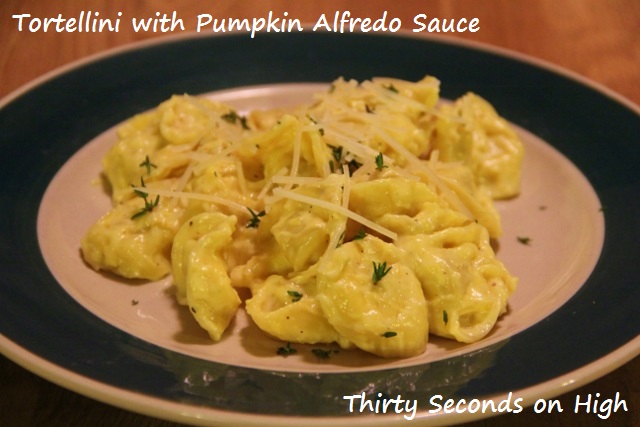
Tortellini with Pumpkin Alfredo Sauce
from the October 2012 issue of Food Network Magazine
Ingredients
kosher salt
2 9-oz packages of cheese tortellini
1 T unsalted butter
1 small shallot, finely chopped
1/2 c canned pure pumpkin
pinch of freshly grated nutmeg
1 1/4 c heavy cream
1/4 c grated parmesan cheese, plus more for topping
freshly ground pepper
chopped fresh parsley, for topping (optional)
What To Do
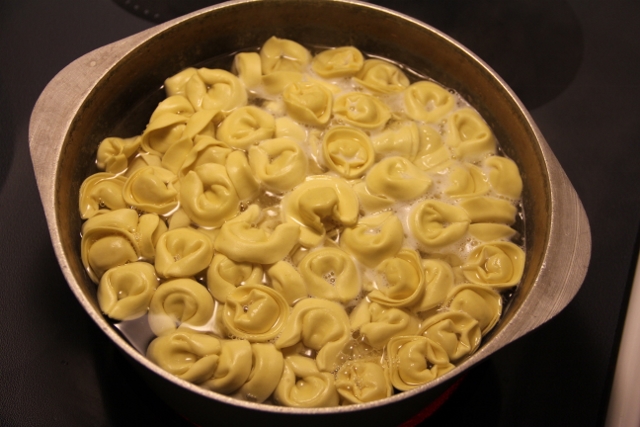
Bring a large pot of salted water to a boil. Add the tortellini and cook as the label directs. Reserve 1/2 c cooking water, then drain the pasta.
Meanwhile, heat the butter in a skillet over medium-high heat. Add the shallot and cook, stirring, until slightly soft, about 2 minutes. Add the pumpkin and nutmeg and cook, stirring, 1 minute. Stir in the cream and bring to a low boil.
Reduce the heat to medium-low; simmer, stirring, until slightly thickened, about 5 minutes. Stir in the cheese and cook until thick, about 1 more minute. Season with salt and pepper.
Add the tortellini to the skillet and toss with the sauce, adding some of the reserved cooking water to loosen, if needed.
Serve and top with more cheese and parsley, if desired.
My Comments
I made a few substitutions: onion instead of shallot, homemade pumpkin instead of canned, dried nutmeg instead of fresh, fresh thyme (it’s still going strong in my garden) instead of parsley.
Some Photos Along the Way
Cooking the tortellini – mine only took 3 minutes
Cooking the onion in butter

Butter and onion plus pumpkin and nutmeg

Now with the heavy cream added

The sauce has thickened and the cheese has been added

I added the sauce to the tortellini because my skillet wasn’t big enough to add the tortellini to the sauce.

Pumpkin pasta is a great way to celebrate some fall flavors. Pumpkin is pretty good for you too, so bonus! This recipe was fairly quick to put together and I will definitely be making it again. I hope you can try it out soon and I hope you all are enjoying this fall season. Have a great weekend!